Download the demo spreadsheets to use with the pre-installed configurations
Joomla Migration
As of version 4.9.0 (Pro) the Content Uploader allows to move from Joomla 3 to Joomla 4/5 with ease. Install the component and navigate to Components - Content Uploader - Joomla Migration:
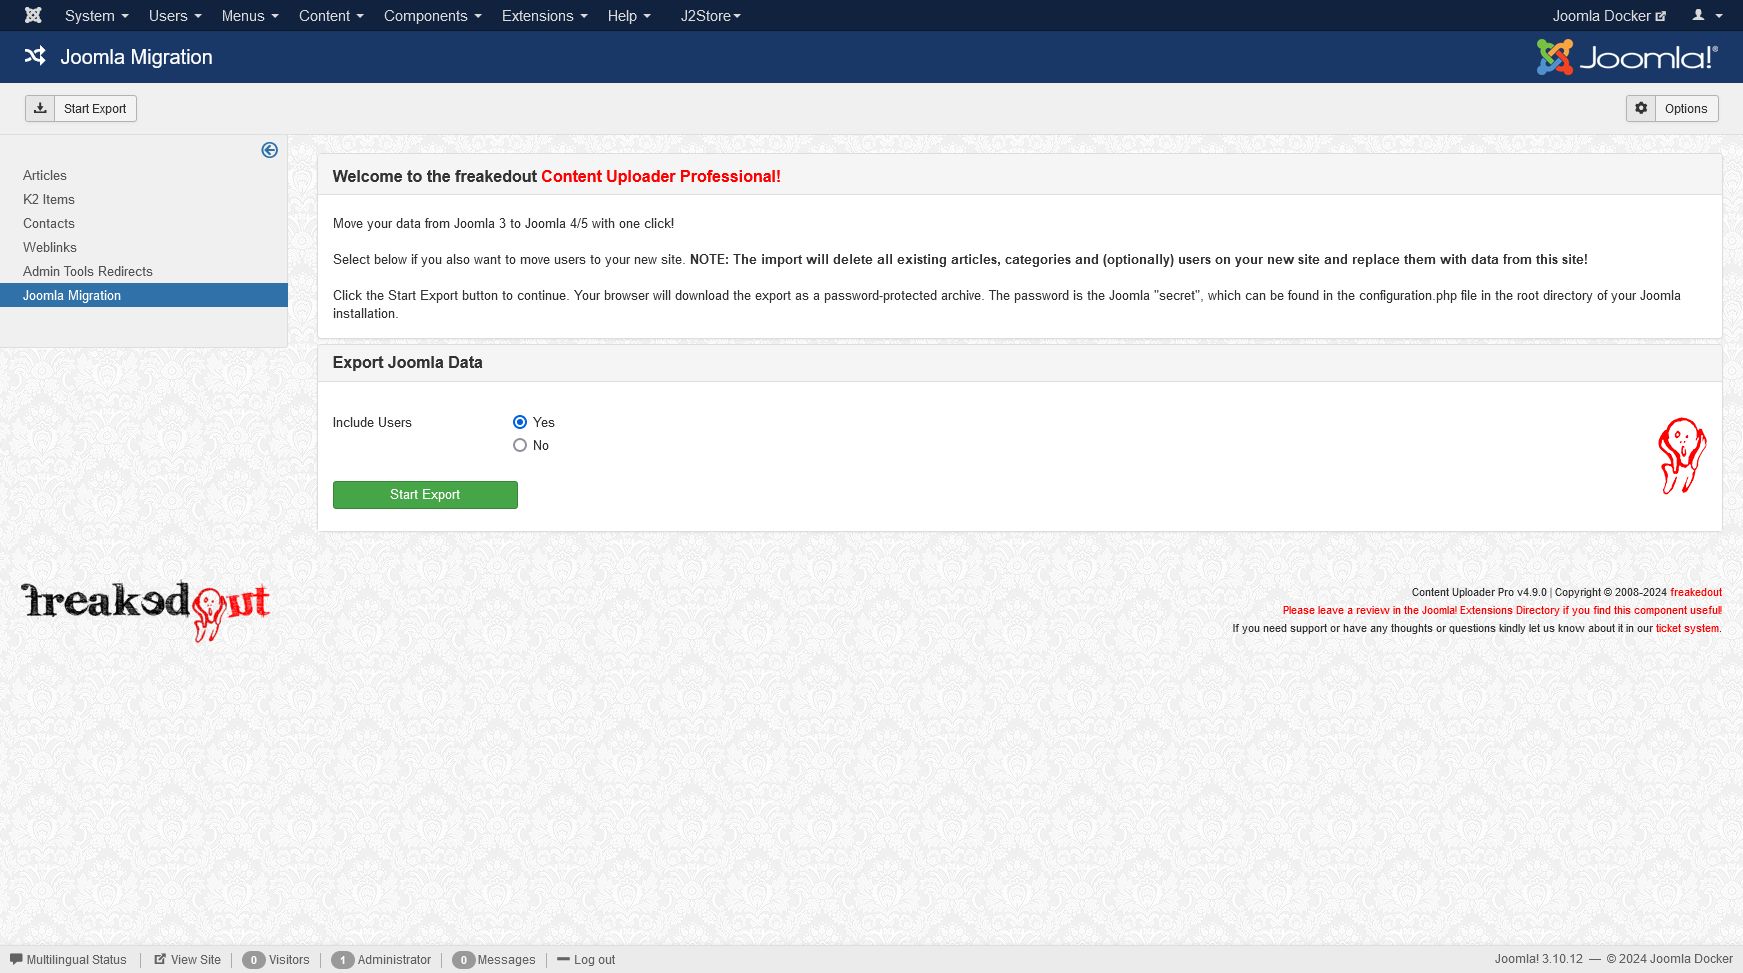
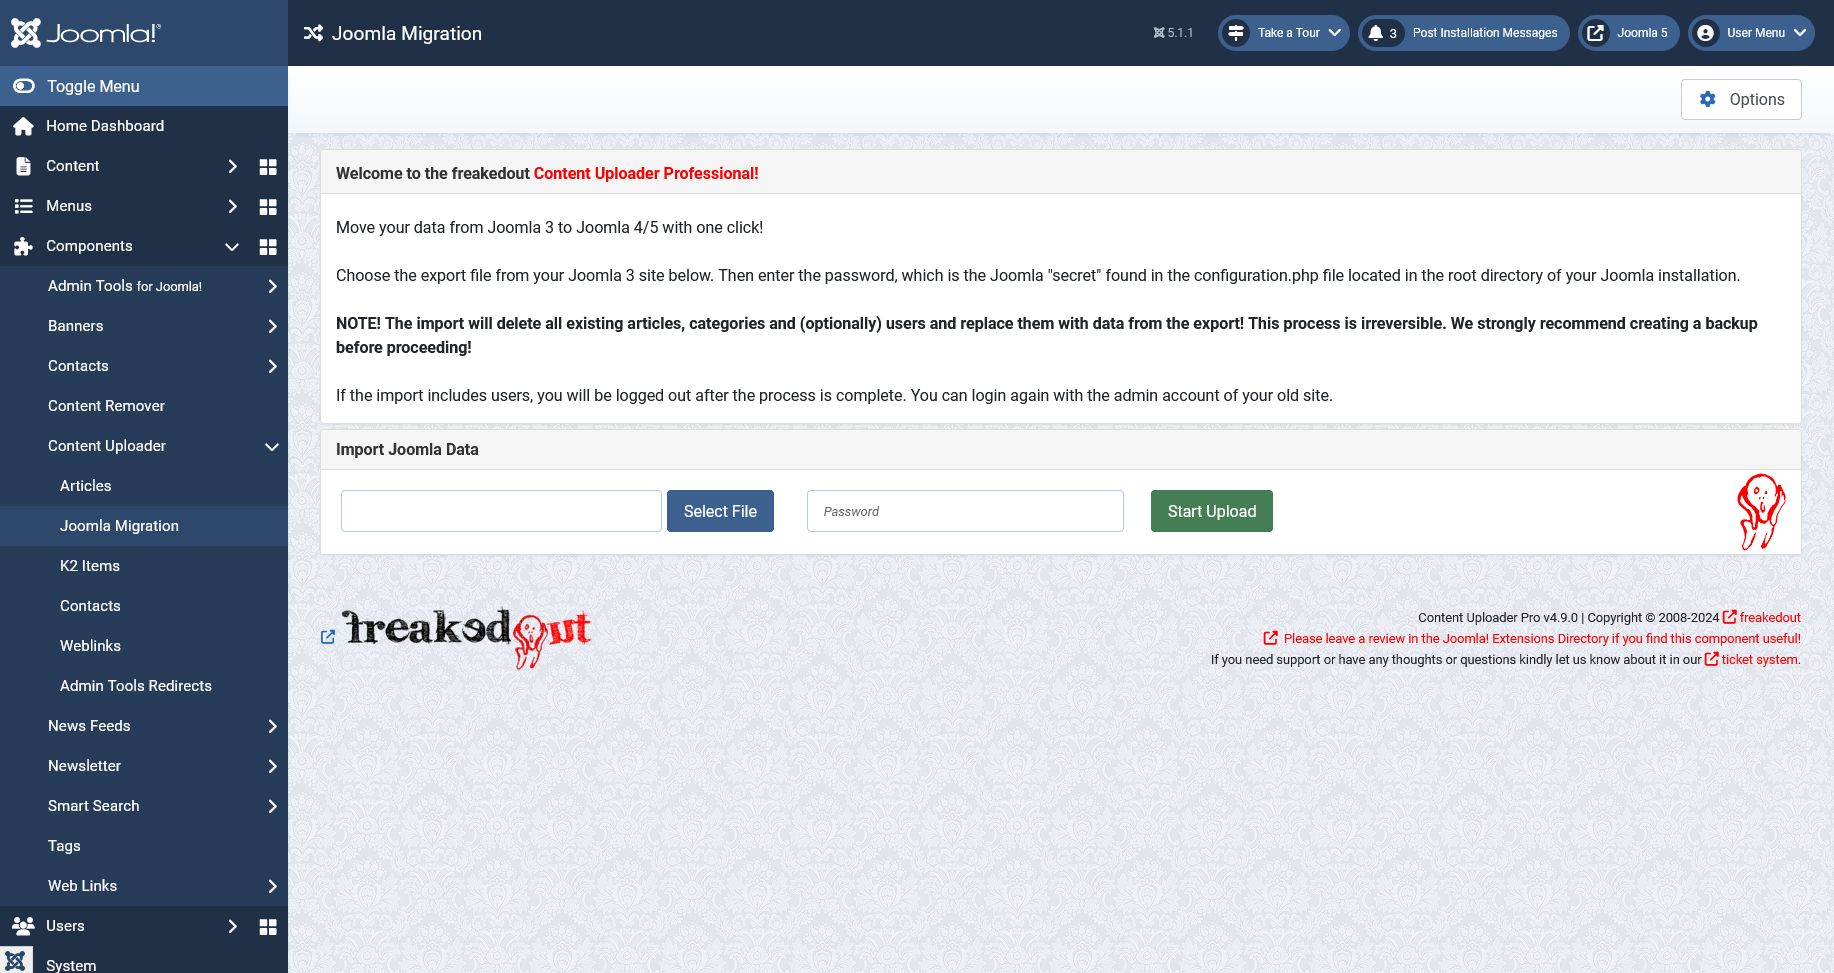
This feature will replace all data during the import! This means all articles, categories, custom fields and users (optionally) will be deleted and replaced with the imported items. We encourage strongly to take a backup as a first step.
General Usage
You can create different configurations, which essentially serve as templates for your items. When you upload your data, each row in your spreadsheet is automatically transformed into an individual item on your website, based on the selected configuration template. For instance, you can specify that article titles should be derived from the content in column A of your spreadsheet. Furthermore, for text fields or editors, it is possible to combine static text with dynamic data obtained from your spreadsheet. In such cases, you must enclose the column reference within curly brackets. For example:
Model: {E}
Price: {F} {G}
In this case the "Model" name would be pulled from column E, the price and currency from column F and G. The result could look like this:
Model: Testarossa
Price: 249,995 USD
You can set almost any item property that you can set in the native systems. Each option is explained in more detail down below.
Download/Upload Configuration
You have the option to download current configurations for backup purposes, which is strongly recommended, and for transferring them to other websites. On the right-hand sidebar, there is a feature that allows you to upload a configuration directly from your local files. When you open a support ticket in our system, it is greatly appreciated if you can include the configuration as an attachment. This enables us to access all the necessary information promptly and provide you with assistance as efficiently as possible.
Joomla Core Articles
The Content Uploader is shipped with the pre-installed "Sailing Yachts" configuration. This relates to the "Yachts Demo" spreadsheet, available for download in our dedicated Download Section. We recommend uploading this file to a test site and then comparing the newly generated articles with the contents of the spreadsheet. This process will help you gain a clear understanding of how each setting corresponds to specific elements and how to create your own configuration.
Configuration Parameters
- Update Articles: Enter a column from which the article IDs should be extracted. Use this feature if you wish to update articles instead of creating them. If you plan to combine updating and creating articles in one upload then simply leave the value in the article ID column blank for the new articles. If your goal is to create only new articles, then simply leave this field empty.
- First Data Row: This is the row in the spreadsheet where your data begins. For example, if you have headers in the first row then this value should be 2
- Published: You can set all articles to published or unpublished. If you enter a column reference letter then your spreadsheet should contain the following values in this column:
0or an empty cell => unpublished1=> published2=> archived
- Featured: You can set all articles to featured. If you enter a column reference letter then your spreadsheet should contain the following values in this column:
1=> featured- any other value or empty cell => not featured
- Title: Enter the column from where the article title will be retrieved. This column can not be empty or else the row will be skipped!
- Alias: Enter the column from where the article alias will be retrieved. We suggest to leave this empty. The Content Uploader will create a URL-safe alias based on the title. If the alias already exists a dash and the article ID will be appended to avoid a collision.
- Category: You can select an existing category from the dropdown list, which will apply to all new articles. This will override any setting in the fields below "Category Column" and "Parent Category Column". If you have the category name in a column of your spreadsheet, leave this setting on "- Select Category -" and set the "Category Column" below.
- Category Column: This column should contain the category name. If the category does not exist, it will be created.
- Parent Category Column: You can create nested categories by setting the Parent Category Column. This only applies when the Category does not exist already and is created during the upload.
- Add parent of the parent category: You can create an infinite number of parent categories. Press this button as many times as required and enter the columns, which contain the next parent category's name.
- Publish New Categories: This setting applies to new categories, which will be created during the upload.
- Remove HTML: When this is activated, the Content Uploader will remove all HTML and PHP tags from spreadsheet data by applying the PHP strip_tags function.
- Tags: You can set one or more columns to retrieve article tags from. Enter the column letter (without curly brackets) and confirm with Enter. Each column can contain more than one tag separated by a pipe character:
|
Article Content
Use the editor to define the structure for your articles. You can insert and text and add data from your spreadsheet by using placeholders.
Using placeholders
Each spreadsheet column can be referenced with {A}, {B}, {C}, etc.
Example:
{A} → value from column A
{EK} → value from column EK
You can place these anywhere in your content, including inside HTML:
<img src="/{K}" />
This will show an image using the value from column K as path to the image file.
You can also use {articleid} to insert the Joomla article ID of your newly created articles.
Conditional content
You can show or hide parts of your content depending on whether a spreadsheet cell contains data.
Syntax:
{cuif H}This text is only shown if column H is not empty{/cuif}
If column H has a value → the text is shown
If column H is empty → the text is hidden
Important: editor settings
Conditional statements are HTML-sensitive.
To avoid layout problems:
Switch the editor to HTML mode when editing content that contains {cuif ...}.
If the editor wraps {cuif} tags inside <p> tags and breaks them:
Go to Plugin Manager → Your Editor Plugin
Set New Lines to BR instead of P
This prevents the editor from inserting unwanted <p> tags that would break the conditional logic.
Images and Links
Images
- Intro Image or Full Article Image: This can be a column reference or a static image path (i.e. the same for all articles). Image paths can be absolute URLs starting with http:// or https:// or else they have to refer to files inside the /images/ directory of your Joomla installation. If relative paths do not begin with /images/ this directory will be added by the Content Uploader. Valid paths would be for example:
sampledata/fruitshop/apple.jpg/images/sampledata/fruitshop/apple.jpghttps://upload.wikimedia.org/wikipedia/en/a/a9/Example.jpg
- Image Description (Alt Text): This value will be used as the alt property of the image. It can be static text or a column reference.
- Image Class: This will be added "class" attribute. Usually something like
left,right,float-startorfloat-end, depending on your template. - Caption: This value will be used as the caption text for each image. It can be static text or a column reference.
Links
- Link A/B/C: The URL for the
Link A/B/Cof the article. Can be static text or a column reference. - Link A/B/C Text: The text to be used as a link. Can be static text or a column reference.
- URL Target Window: Choose one of the available options.
Fields
You can populate almost any custom fields. Not supported are the field types subform, media and repeatable due to their complexity. You can use other field types to achieve the same.
Please note that fields can be linked to categories. The Content Uploader is showing ALL fields on the configuration page, regardless of their category association. When uploading articles to certain categories, fields, which do not belong to this category will be ignored.
Most fields have a small input field next to them labelled Column Ref.. If you enter a value here, then the actual field value is ignored and data is pulled from the spreadsheet column. In other cases, for example text, text-area or editor, you can enter both, static text and column references in curly brackets like so:
Model: {E}
Price: {F} {G}
In this case the "Model" name would be pulled from column E, the price and currency from column F and G.
In case of checkboxes fields or list fields with "Multiple" setting enabled, you can define more than one value by separating them with a pipe character | in your spreadsheet cell. For example one|three|five would select options one, three and five (if they are valid options for this field).
Publishing
- Author: Select the author of the articles. If left empty, the currently logged in admin will be the author.
- Author's Alias: Override the author's name. It can be static text or a column reference.
- Access: Select one of the available options. (Access Column will override this setting)
- Access Column: Enter a column, which contains the access level. This can be numerical values of the access level ID or the name of the level (see "Users" - "Access Levels" page). If it does not contain a valid value the Access dropdown value will be used.
- Created Date: Enter a Column Ref. value or set a static date. If left empty the current date/time will be used.
- Start Publishing: Enter a Column Ref. value or set a static date. If left empty the current date/time will be used.
- Finish Publishing: Enter a Column Ref. value or set a static date. If left empty no date will be set.
Options
Select options from the dropdown fields as you would do in the Joomla core article editor.- Browser Page Title: Set the browser page title. You can enter static text, that applies to all articles created during the upload or set column references with curly brackets, for example: {F}, {G} - {H}. These will be replaced with data from your spreadsheet columns F, G and H. Leave empty for Joomla to handle the browser page title.
Metadata
- Meta Description or Keywords: Enter a static text or column references in curly brackets notation, for example
{A}, {B}, {C} - Robots: Select a value from the dropdown or select "Column Ref." in the dropdown AND enter a column reference in the field below.
- Author: Set the author meta tag. You can enter both, static text and column references in curly brackets.
- Content Rights: Set the content rights meta tag. You can enter both, static text and column references in curly brackets.
General Upload Settings
- CSV Delimiter: Set the CSV delimiter in case you are uploading CSV files. This setting depends on your Operating system's locality settings or how the file was created. Usually it's a comma.
- CSV Text Qualifier: Set the CSV Text qualifier in case you are uploading CSV files. This setting depends on your Operating system's locality settings or how the file was created. Usually it's a double quote.
-
Date Time Format: If you are import date or date-time into the article content, you can define the date format here. Refer to the PHP documentation for possible values. Usually it's a combination of:
dDaymMonthYYear (4 digits) ory(2 digits)HHouriMinutesSeconds
Examples
d/m/Y H:i:s=>05/11/1955 10:04:00l jS \o\f F Y h:i A=>Saturday 05th of November 1955 10:04 PM
- Decimals: Format columns containing numbers to have this amount of decimal digits.
- Decimal Separator: Decimal separator to be used for number formatting.
- Thousands Separator: Thousands separator to be used for number formatting.
- Columns containing decimals: Enter column letters separated by comma to which number formatting should be applied.